The Ultimate DIY Guide to Epoxy Floor Installation: Learn From The Pros
With its seamless finish, durability, and sleek aesthetic appeal, epoxy flooring has become a go-to choice for homeowners and businesses alike.
But how exactly does the installation process work, and what should you know before diving in?
In this guide, we’ll unpack the step-by-step process for installing epoxy floors. From understanding the essential preparation techniques to mastering the application process, you’ll gain a clear view of what goes into achieving a flawless finish.
Along the way, we’ll also cover key considerations, such as surface evaluation and choosing the right type of epoxy, to help you make informed decisions.
Whether you’re a DIY enthusiast considering tackling this project yourself or someone planning to hire a professional installer, this article has everything you need to know.
Tools up, let’s get started.
Why Epoxy Flooring is a Game-Changer for Perth Homes and Businesses
Before we break down the step-by-step process, let’s talk a little about why epoxy is such a popular option.
As a surface solution, epoxy combines resin and hardener to create a durable, seamless, and highly versatile finish.
It is applied over concrete floors, transforming them into robust surfaces that can withstand heavy traffic, impacts, and chemical exposure.
While epoxy flooring has long been a staple in industrial and commercial spaces, it’s quickly gaining traction in residential settings across Perth due to its stylish and modern look.
- One of the key benefits is its durability. Unlike traditional flooring options, epoxy resists cracking, chipping, and wear over time. This makes it an excellent choice for high-traffic areas like garages, workshops, retail spaces, and warehouses. The surface is also highly resistant to spills, including oils, chemicals, and water, ensuring minimal maintenance and long-term performance.
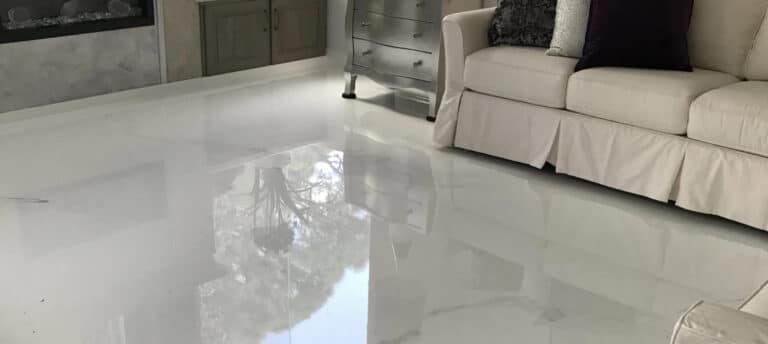
- Another standout feature is the aesthetic flexibility it offers. Available in a wide range of colours, textures, and finishes—such as metallic, flake, and high-gloss—you can customise the flooring to suit your design preferences. Its seamless appearance not only enhances visual appeal but also eliminates grout lines, making cleaning and upkeep incredibly easy.
- Epoxy also excels in safety and hygiene. Its slip-resistant options make it a great choice for both residential and commercial settings, while the smooth, non-porous surface prevents dust, dirt, and bacteria from accumulating. This makes it particularly attractive for spaces like kitchens, hospitals, and childcare centres where cleanliness is paramount.
- For Perth residents, the climate is another factor to consider. Epoxy is UV-stable and performs well in both hot and cool conditions, making it ideal for the region’s variable weather. Its ability to adhere tightly to concrete surfaces ensures stability and durability, even under extreme temperature changes.
POPULAR: 10 Common Epoxy Flooring Issues (And How to Fix Them)
Environmental and Regulatory Factors for Epoxy Floor Installation
Environmental Impact of Epoxy Flooring
Epoxy materials can have an environmental impact, primarily during the manufacturing and application processes.
Epoxy contains chemicals such as resins and hardeners, some of which may emit volatile organic compounds (VOCs) during curing. These emissions can contribute to air pollution and may pose health risks if proper ventilation isn’t provided.
To mitigate environmental concerns, many manufacturers now offer low-VOC or VOC-free epoxy formulations. Opting for these eco-friendly alternatives reduces harmful emissions without compromising the quality or durability of the flooring.
Additionally, responsible disposal of leftover materials and equipment cleaning agents is crucial to prevent contamination of soil and water sources.
PM Industries Tip: Because epoxy is highly durable and long-lasting, it reduces the need for frequent replacements, thereby minimising waste over time. This makes epoxy an environmentally conscious choice compared to short-lived flooring materials.
Do You Need Permits for Epoxy Flooring in Perth?
In most residential settings, epoxy floor installation does not require a permit as it’s typically considered a minor renovation.
However, for commercial and industrial spaces, permits may be necessary if the installation involves changes to the structure or usage of the building.
For instance, a warehouse transitioning to a food processing facility might need to ensure the flooring complies with hygiene and safety regulations.
Inspections and Compliance Standards
For large-scale commercial projects, inspections may be required to ensure the flooring meets certain standards.
For example, epoxy flooring in food preparation areas must comply with hygiene regulations set by authorities like Food Standards Australia New Zealand (FSANZ). Similarly, floors in industrial settings may need to meet slip resistance and fire safety standards.
Tailoring Epoxy Flooring to Your Property’s Unique Needs
Assessing Your Property’s Needs
Before diving into the installation, take time to evaluate the purpose and characteristics of the space where the flooring will be installed.
Type of Space
- Residential Properties: Garages, basements, kitchens, and patios are common areas for epoxy in homes. These spaces benefit from epoxy’s durability and customisable aesthetics.
- Commercial Properties: Retail stores, offices, and restaurants require flooring that balances style with practicality. Consider finishes like flake or metallic for a polished look.
- Industrial Settings: Warehouses, factories, and workshops need heavy-duty epoxy coatings designed to withstand heavy machinery and chemical exposure.
Usage Requirements
- Foot Traffic: Areas with high foot traffic may require thicker coatings or additional slip-resistant finishes to ensure safety and longevity.
- Chemical Resistance: For spaces like garages or industrial facilities where spills are common, opt for epoxy formulations with enhanced chemical resistance.
- Aesthetic Preferences: Decide on colours, textures, and finishes that align with the overall design of your property.
Gathering the Right Tools and Resources
Surface Preparation Equipment:
- Concrete Grinder or Sander: This is used to smooth and clean the concrete surface.
- Vacuum Cleaner: To remove dust and debris after grinding.
Mixing Tools:
- Drill with Mixing Paddle Attachment: For thoroughly blending epoxy resin and hardener.
- Measuring Containers: To ensure accurate ratios during mixing.
Application Tools:
- Rollers and Brushes: For spreading the epoxy evenly.
- Trowels: To create smooth finishes or add texture.
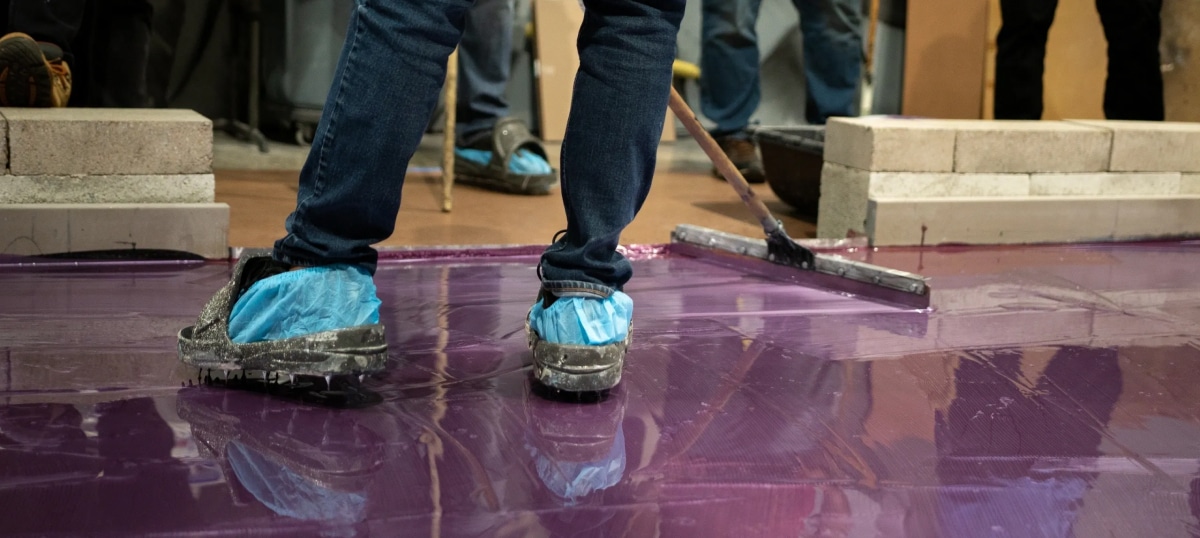
- Spike Shoes: To walk on wet epoxy without disturbing the surface.
Required Materials
- Epoxy Kit: Includes the resin, hardener, and any additives or pigments.
- Primer: Prepares the concrete for better epoxy adhesion.
- Topcoat: Adds durability, UV resistance, and a glossy or matte finish.
- Optional Additives: Flakes, metallic pigments, or anti-slip granules for customisation and safety.
Safety Gear
- Gloves and Goggles: To protect your skin and eyes from chemicals.
- Respirator Mask: Essential for ventilating during application, especially when working with high-VOC products.
Everything You Need for a Successful Epoxy Floor Installation
Epoxy Resin and Hardener
The foundation of any epoxy floor is the resin and hardener, which chemically bond to form a durable surface.
Types of Epoxy
- 100% Solids Epoxy: Offers maximum durability and thickness but requires professional handling due to its fast curing time.
- Water-Based Epoxy: Easier to apply, with lower VOC emissions, making it suitable for residential spaces.
- Solvent-Based Epoxy: Provides excellent adhesion and durability but emits higher VOCs, requiring proper ventilation.
Primers and Topcoats
Primers and topcoats are crucial for preparing the surface and adding a protective layer to the finished floor.
Primers
- A high-quality primer enhances adhesion between the concrete and epoxy.
- Recommended Brand: Dulux Durebild STE Primer, designed for superior bonding on concrete surfaces.
Topcoats
- A topcoat provides UV resistance, colour enhancement, and additional durability.
- Recommended Brand: SikaFloor 264, suitable for high-traffic areas.
Additives and Customisation Options
Enhancing the look and functionality of your epoxy floor is easy with the right additives.
Decorative Additives
- Flake Systems: Add texture and visual interest. Popular choices include Torginol Vinyl Chips, available in a variety of colours.
- Metallic Pigments: Create a luxurious, high-gloss finish with brands like Metallic Epoxy Australia.
Functional Additives
- Anti-Slip Granules: Improve safety in wet or high-traffic areas. Look for silica-based options from GripTec Australia.
- Colour Pigments: Customise your floor with vibrant hues from brands like Concrete Colour Systems (CCS).
Tools and Equipment
Using the right tools is just as important as choosing quality materials.
Essential Tools
- Concrete Grinders: Rent heavy-duty models from local equipment rental companies.
- Mixers: Use a drill with a paddle attachment; Bosch offers reliable options.
- Application Tools: Opt for high-quality rollers and trowels from brands like Purdy.
Optional Tools
- Infrared Thermometer: Helps ensure optimal curing conditions.
- Laser Level: For precise measurements and consistent application.
Step-by-Step Guide For Epoxy Floor Installation
Step 1: Preparing the Concrete Surface
Cleaning the Surface
- Sweep and vacuum the area thoroughly to remove dust, dirt, and debris.
- Use a degreaser or chemical cleaner to eliminate oil stains or grease.
Inspecting for Cracks and Damage
- Check for cracks, chips, or uneven areas on the concrete.
- Use a concrete patching compound to repair imperfections and allow it to cure completely.
Grinding the Concrete
- Use a concrete grinder to smooth the surface and create a slightly rough texture for better epoxy adhesion.
- Vacuum up all dust and debris after grinding.
Step 2: Applying the Primer
Mixing the Primer
- Follow the manufacturer’s instructions for mixing the primer components. Use a drill with a mixing paddle for consistent blending.
Rolling on the Primer
- Use a roller to apply a thin, even coat of primer across the floor.
- Allow the primer to dry as recommended (usually 6–8 hours) before proceeding to the next step.
Best Practice: Ensure the room is well-ventilated to minimise exposure to fumes
Step 3: Mixing the Epoxy
Accurate Measurements
- Measure the resin and hardener components precisely according to the product guidelines.
- Avoid mixing too much at once to prevent premature curing.
Thorough Mixing
- Use a drill with a paddle attachment to mix the resin and hardener until fully blended.
- Stir slowly to minimise air bubbles.
Warning: Improper mixing can result in uneven curing or weak spots in the final coating.
Step 4: Applying the Epoxy Coating
Pouring the Epoxy
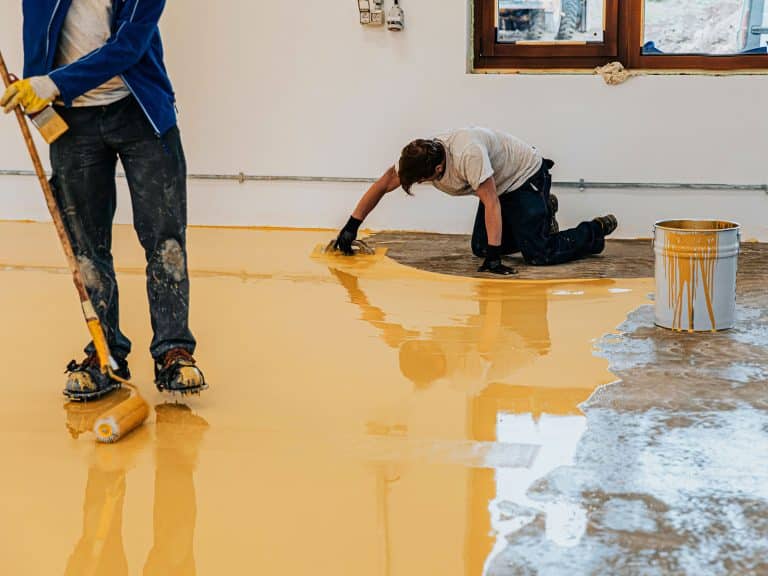
- Start pouring the epoxy mixture onto the floor in sections.
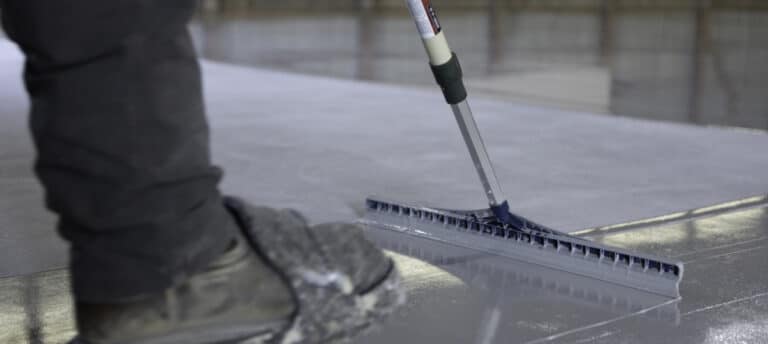
- Use a trowel to spread it evenly across the surface.
Rolling the Epoxy
- Follow up with a roller to smooth the coating and eliminate streaks.
- Apply the epoxy in even strokes, working your way out of the room to avoid stepping on wet areas.
Adding Decorative Elements
- Sprinkle flakes, metallic pigments, or other decorative elements onto the wet epoxy if desired.
Step 5: Applying the Topcoat
Mixing and Applying
- Mix the topcoat according to the product instructions and apply it with a roller.
- Use light, even pressure to avoid uneven layers.
Curing the Floor
- Allow the floor to cure fully, which typically takes 24–72 hours depending on the epoxy type.
- Keep the area clear of traffic during this time.
Safety Tip: Maintain good ventilation during curing to disperse any residual fumes.
Step 6: Post-Installation Cleanup and Maintenance
- Remove all tools and dispose of leftover materials responsibly.
- Sweep and mop the floor to remove any dust or residue.
- Establish a regular cleaning routine to preserve the epoxy’s appearance and durability.
When to Call a Professional Installer
While it can be a DIY project, certain circumstances may warrant professional assistance:
- Large or Complex Areas: Professional installers can handle extensive spaces efficiently.
- Severe Surface Issues: Deep cracks, moisture problems, or uneven concrete require expert attention.
- High-Performance Coatings: Industrial-grade or decorative finishes like metallic epoxy often need professional-grade equipment and experience.

