How to Harden a Sticky Epoxy Floor Like the Pros (DIY Tips Inside)
Sticky epoxy is frustrating, messy, and definitely not the result you want from your new floors.
With more property owners choosing epoxy for its seamless look and rugged performance, you’re not alone if you’re experiencing or concerned about sticky finishes.
Sticky epoxy signals a problem with curing or surface conditions, but rest assured, it can usually be fixed with the right techniques.
Understanding what went wrong, why it happened, and how to repair the surface properly will give you back a durable, polished floor you can rely on.
This practical guide walks you through common causes, expert-recommended steps to fix the problem, plus prevention tips to avoid future headaches.
Why Epoxy Floors Are Growing in Popularity
Epoxy flooring’s resin-based system bonds tightly to concrete, creating a seamless protective layer that resists chemicals, stains, and impacts.
Its hygienic nature makes it especially suited to garages, workshops, and even living spaces where easy cleaning is a must.
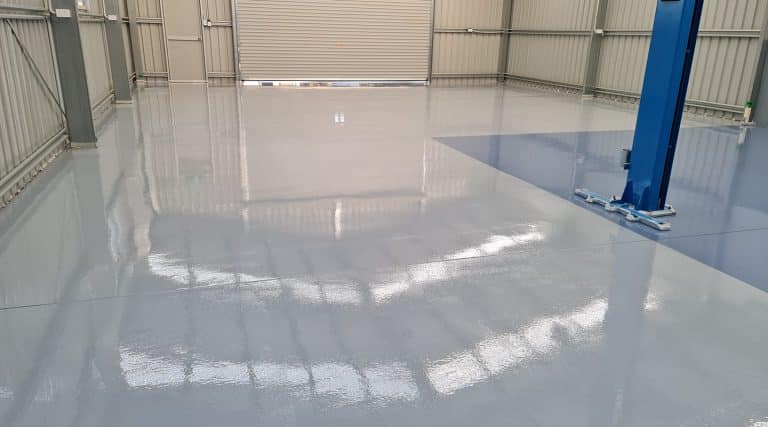
Beyond practicality, epoxy floors deliver impressive visual results with a wide range of decorative finishes available — from minimalist greys to striking metallic or flake blends.
Epoxy resists UV light in indoor environments, helping maintain consistent colour and gloss over time. Slip resistance can also be built into the coating, making it a safe option for busy households or wet-prone areas.
Permits and Compliance Factors
Residential epoxy flooring projects generally do not trigger extensive council permit requirements, provided they stay within a standard refurbishment scope.
However, large-scale renovations involving changes to structural elements or commercial kitchens may require approvals, particularly if polyurethane cement is applied to meet health and safety codes.
Inspections, while not mandated for every domestic epoxy installation, can be a smart safeguard. Engaging a qualified flooring specialist ensures proper surface preparation, diamond grinding standards, and correct curing processes.
Key Epoxy Flooring Elements
Resins and Hardeners
At the core of every epoxy floor lies a combination of resin and hardener, which react to form a solid, seamless coating. Quality products make a noticeable difference in finish strength, chemical resistance, and long-term wear.
When comparing options, always check product datasheets for performance properties like cure time, recommended application thickness, and slip resistance.
Primers and Sealers
A reliable primer acts as the vital link between bare concrete and the epoxy coating. Primers fill pores, bind dust, and boost adhesion for consistent curing.
If the area suffers from moisture issues, choose a moisture-tolerant primer to avoid delamination.
Sealers, applied on top of epoxy, protect against UV discolouration and add a layer of scratch resistance. Polyurethane sealers are a popular option thanks to their durability and flexibility.
Flakes and Decorative Elements
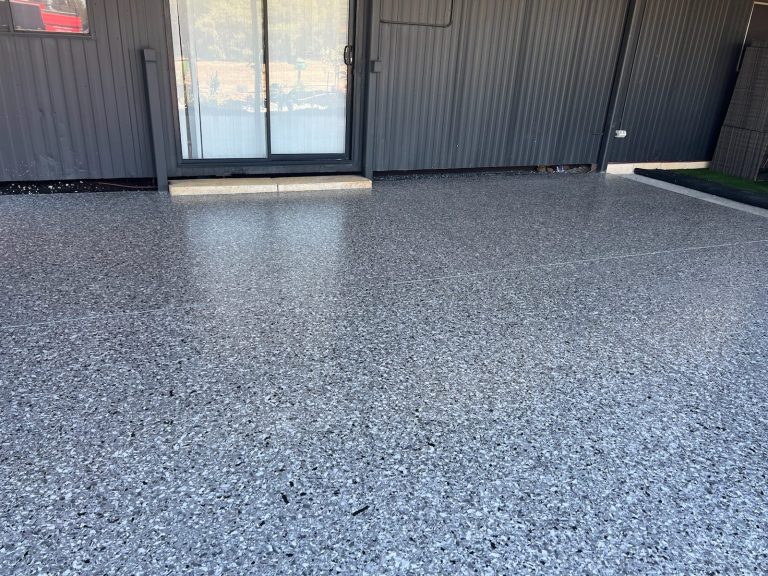
Designer flakes and decorative blends elevate epoxy flooring from industrial to showroom-worthy. With countless colours and sizes available, you can customise to match your property’s style.
For slip resistance, choose a system rated to R10–R12 as per Australian slip ratings.
Step-by-Step Rescue Plan for Sticky Floors
Step 1: Prepare the Surface
Before anything else, get the surface right. Remove dust, oils, or any contaminants. Diamond grinding is the gold standard for preparing concrete, creating a textured surface for the new epoxy to bond.
Skip acid etching, which can leave residues. Sweep thoroughly, then vacuum to eliminate fine particles.
Step 2: Mix the Epoxy
Follow the manufacturer’s mixing ratios with precision. Incomplete blending causes sticky, under-cured patches. Stir with a slow-speed mechanical mixer to avoid introducing air bubbles.
Always mix small batches to keep pot life under control, as epoxy can begin reacting quickly. Allow the mixture to rest for a few minutes after stirring, known as “induction time,” to let the chemical reaction stabilise before application.
Step 3: Apply Primer
Roll on a compatible primer to seal concrete pores and lock down dust. Spread evenly with a roller, avoiding pooling, and allow recommended drying time. Primers help prevent bubbles and patchy curing.
Step 4: Apply the Epoxy Coat
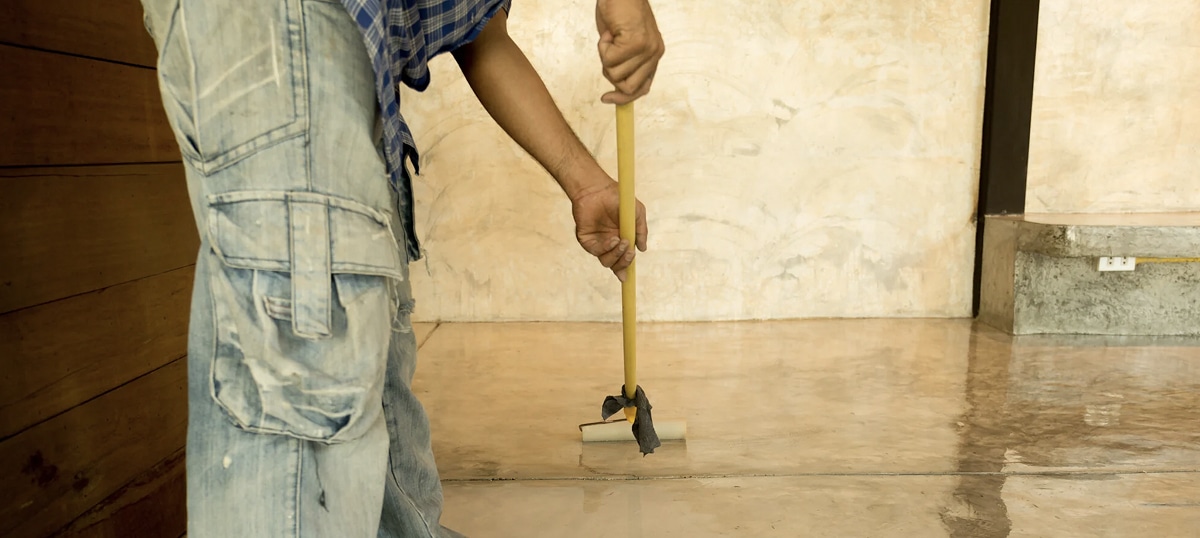
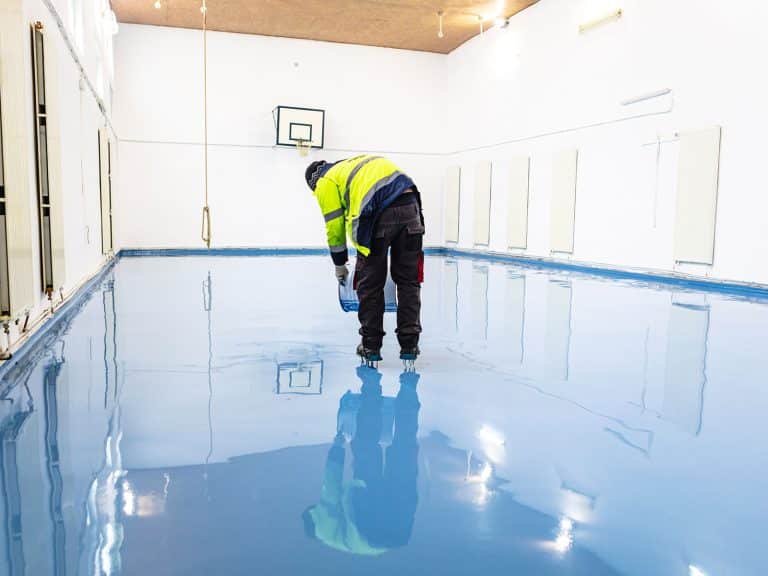
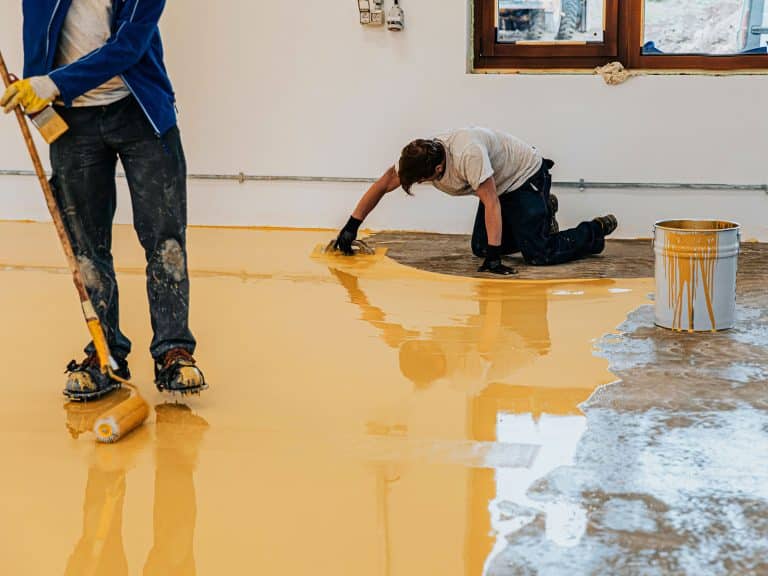
Pour the mixed epoxy in ribbons across the floor. Use a notched squeegee to spread evenly, followed by a roller to smooth the layer. Work steadily to maintain a wet edge, preventing overlap marks.
Adding Decorative Flakes?
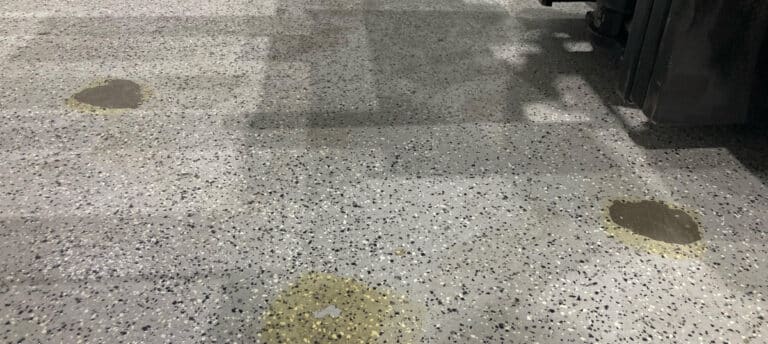
Broadcast flakes by hand while the epoxy remains wet. Scatter evenly for a consistent, professional finish. Once cured, sweep up any loose flakes.
Step 5: Seal and Finish
When the epoxy layer has cured, apply a polyurethane or compatible sealer for added UV protection and scratch resistance. This final layer locks in durability and creates an easy-to-clean finish.
Step 6: Inspect and Test
Test the surface with a light foot traffic check to confirm the finish is hard and tack-free. Check for any missed spots or air bubbles. If issues persist or large sticky patches remain despite best efforts, consider engaging a professional epoxy installer.
Major repairs on sticky floors often need industrial diamond grinding and re-coating expertise to restore performance.
How Much Will it Cost to Fix a Sticky Epoxy Floor?
| Item | Estimated Range |
| Diamond grinding surface prep | $30–$50 per m² |
| Epoxy primer | $8–$15 per m² |
| Epoxy topcoat | $25–$45 per m² |
| Decorative flakes (optional) | $5–$10 per m² |
| Polyurethane sealer | $12–$20 per m² |
| Safety equipment hire/purchase | $100–$300 total |
| Professional installer (if required) | $60–$100 per m² |
Ready to Restore Your Floor? Let’s Talk
Don’t let a sticky epoxy floor remove the beautiful, high-performance surface you’re looking for. At PM Industries, we bring decades of experience, trusted systems, and a commitment to getting every project right the first time.
Reach out for tailored advice, expert solutions, and a free quote within 48 hours — because your floors deserve the best, and so do you.

